Supernatural Squad Solo Guide: Build a Run You Can Finish
Solo play changes the job in Supernatural Squad. You have no teammate to revive you, carry a second item, or remember the exit, so the winning plan is a readable route, a modest loadout, and an early decision to leave.
This is an unofficial fan guide. Public guides and store descriptions can change after updates, so treat exact item names, enemy behavior, and availability as current-client details to verify in game.
Quick answer: solo runs are route-control exercises
A reliable Supernatural Squad solo run starts with one clear objective, not a full backpack. Mark the entrance, learn the nearest return landmark, and collect only while you can still explain how to leave. A smaller haul that reaches extraction teaches more than a rare item lost in an unfamiliar room.
Solo players must replace the jobs a squad normally divides between several people. You are the scout, carrier, threat caller, and extraction owner at the same time. That makes information more valuable than damage. A flashlight, scan ability, recovery item, or mobility tool can prevent a mistake before a weapon is ever needed.
Use the first minutes to read the map and identify one safe loop. Do not chase every red room, sound cue, or high-value marker. Touch a landmark, check the next turn, and keep the route short enough to repeat. If the room is unfamiliar and the return path is not visible, skip the pickup and continue scouting.
The solo version of the game is not a weaker copy of co-op. A teammate cannot rescue a downed player, confirm a fake voice, or carry the extra salvage. Every decision therefore has a recovery cost. Spend tools to create distance, visibility, or a clean exit, then leave before the remaining risk becomes a second problem.
A practical threshold is to extract after a valuable item, a major scare, or a large tool use. Those events change the risk profile of the run. Recount health, light, mobility, carry weight, and the route back. If two of those are already poor, treat the next safe landmark as the finish line instead of starting a deeper branch.
This page is separate from the multiplayer guide. Multiplayer explains shared jobs and callouts; the solo guide explains how one player compresses those jobs into a repeatable loop. Use the monster guide for enemy signals, the map guide for route patterns, and the equipment guide when you need item context.
Public beginner guides commonly recommend scanning, keeping weight under control, using high ground or doors, and planning extraction before the late timer. Those ideas are useful here, but exact thresholds are not permanent rules. Prefer what the current client shows and record which route worked instead of copying a number from an older post.

Solo priority table
Use this order whenever the map offers more loot than one player can safely carry home.
| Priority | What it protects | When to act | Solo warning |
|---|---|---|---|
| Mark the return route | Prevents navigation loss when the room layout becomes stressful. | At the start and after every major turn | Do not rely on memory after taking an unfamiliar branch. |
| Secure one useful pickup | Creates progress without turning the run into a long escort mission. | When the item and exit can be named together | Do not add a second room before the first item is safe. |
| Keep a recovery tool | Gives one answer to damage, darkness, or a forced detour. | Before entering a high-risk room | Do not spend the last recovery option for ordinary speed. |
| Protect mobility | Preserves the ability to cross a gap or break pursuit. | When weight, stamina, or route pressure rises | Do not burn mobility to chase a low-value object. |
| Leave with margin | Banks the run and keeps the next attempt available. | After a scare, major pickup, or route uncertainty | Do not wait for the final timer warning to begin returning. |
| Write a short run note | Turns a failure into a better next route instead of a repeated guess. | After extraction or a loss | Do not record only the monster name; note the decision that failed. |
A repeatable four-phase solo run
The exact equipment can change, but the sequence keeps one player from solving every problem at once.
Start light and learn the exit
Use a low-cost setup while you learn the entrance, nearest landmark, and first safe return. Your first solo run is a route test, not a rare-loot showcase.
- Mark one landmark before collecting
- Keep the camera and audio readable
- Choose an exit owner: you
Take one item that solves a real goal
Choose a pickup that improves progress, a quest, or the next upgrade. Stop when the carry decision creates more danger than value.
- Name the item and return path
- Recheck weight after every pickup
- Leave a tempting branch for later
Spend tools before the mistake compounds
If a monster blocks the route or the room becomes unclear, use light, distance, a door, or mobility to reset. Do not wait for perfect certainty while your escape options shrink.
- Break pursuit before healing
- Use high ground only when it is known safe
- Keep one option for the return
Bank progress while the route is simple
The run is complete when the item is out, not when the backpack is full. Leave with enough health, time, and orientation to make the return boring.
- Follow the named landmark chain
- Drop low-value weight if movement suffers
- Review the run before adding difficulty
Choose equipment by solo job
Solo loadouts work when every slot answers a specific problem. Avoid building a kit that only looks strong on paper.
Information first
A scanner, visibility tool, or character ability that exposes routes and valuable objects reduces the number of blind turns you must take alone.
If the tool saves a wrong turn, it can be more valuable than a little extra damage.
One recovery answer
Carry a recovery option for the moment after damage, a trap, or a forced detour. The goal is to stabilize and leave, not to heal forever inside the danger zone.
Move to cover before using recovery whenever the threat can still see you.
Controlled damage
A weapon or counter is useful when it creates a clean exit. Solo players should avoid a long fight that consumes health, light, and the return route at the same time.
Disengage when the encounter costs more than the item is worth.
Carry and movement
Capacity and mobility support the route only after the basic loop is stable. A larger bag is not an upgrade if it makes the return slow and noisy.
Test one capacity change at a time so you can see its real effect.

Common solo mistakes
Most solo losses begin as planning errors that leave no recovery option later.
Treating the first item as permission to go deeper
A successful pickup changes the value of the run. Bank it, learn the return, and add depth only when health, tools, and orientation are still strong.
Fighting because there is no teammate to distract the threat
A solo fight can consume the exact resources needed to escape. Use doors, distance, and route resets before committing to damage.
Using the map only after getting lost
Opening the map late cannot restore a route you never named. Memorize landmarks during calm moments and use a short chain of turns.
Copying co-op loadouts without changing the job
A squad can divide light, healing, and carrying. A solo player must keep answers in one kit, even if that means collecting less.
Verify the current game context
Use first-party pages for availability and names, then use fan pages for practical route planning.
Tomb Busters official site
The publisher-controlled site identifies the game as a co-op horror extraction title with PC cross-play and current news.
Open official siteGoogle Play listing
Check the current app identity, update details, screenshots, and platform availability before relying on an older guide.
Open Google PlayBeginner guide
Use the beginner page for the core loop, then return here when you want to practice without a squad.
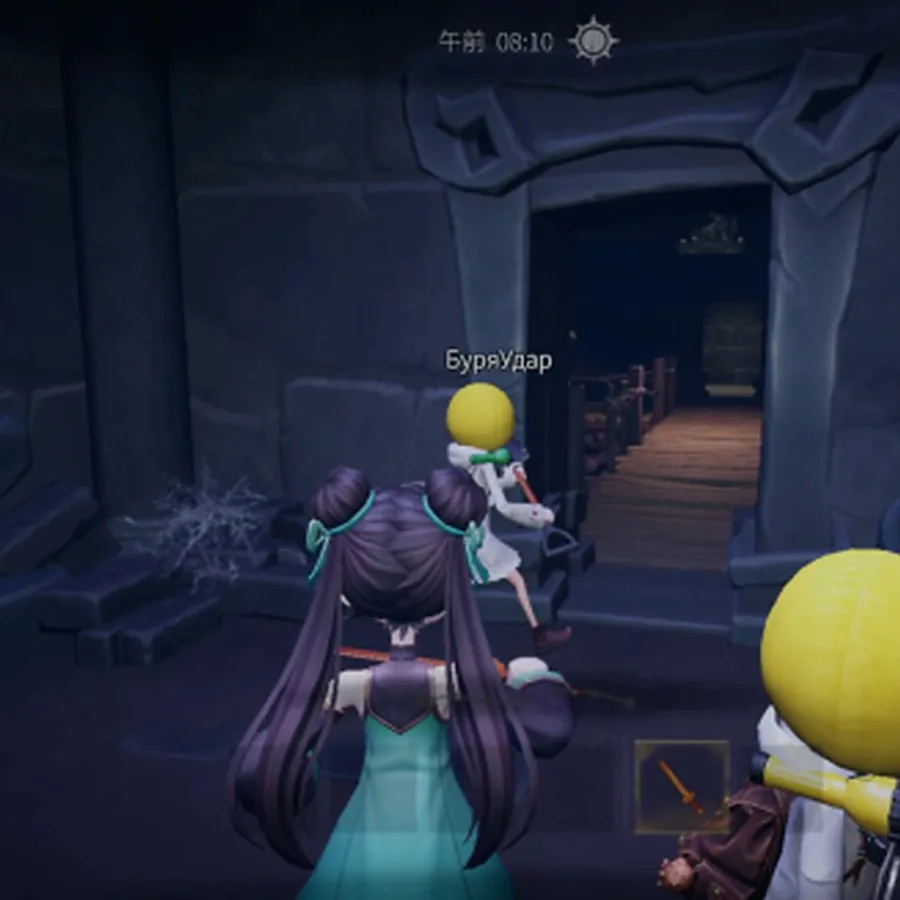
Read beginner guideTomb Busters gameplay image published by GameWith
The gameplay image used in this article is a crop from GameWith. It is third-party media, not official promotional material.
View the GameWith pageBuild the next solo lesson
These pages cover the adjacent decisions that make a solo route easier to repeat.
Monster guide
Classify route pressure, sight reactions, bait, and unknown audio before choosing a counter.
Read monster guideMap and extraction guide
Learn how to name landmarks, plan a return, and decide when a collectible branch is too expensive.
Read map guideEquipment guide
Compare visibility, recovery, mobility, and damage tools before changing a solo kit.
Read equipment guideSupernatural Squad solo FAQ
Short answers for players searching for a solo route, solo character choice, and safer extraction habits.
Public guides describe solo runs, while official pages emphasize the co-op and cross-play identity. Treat solo play as a separate risk profile: verify the current client, then use a low-cost route because there is no teammate to revive or carry you.
There is no permanent best choice. Start with the character or ability that gives reliable information, movement, or recovery in the current client. A clear scan or route tool is usually easier to learn alone than a damage-only option.
Bring one information or visibility option, one recovery answer, and only enough damage or mobility to create an exit. Add capacity after you can extract consistently with a lighter kit.
Leave after a valuable pickup, a major scare, a large tool use, or a route you can no longer describe. Two weak resources are enough reason to turn the nearest safe landmark into the finish line.
Fight only when the encounter has a known, short solution and protects the return route. Otherwise use distance, doors, high ground where appropriate, or a reset. Losing health and orientation together is rarely worth one extra item.
The multiplayer guide assigns jobs between players. This page compresses scouting, carrying, threat calls, recovery, and extraction into one repeatable solo loop, so the advice and loadout priorities are different.
Write down the last safe landmark, the decision that started the chain of problems, and the tool you still had or had already spent. Change one variable on the next run and test the route again.