Tomb Busters Characters: Roles, Teams, and How to Choose
Searching for Tomb Busters characters usually means you need a practical answer before you spend resources or queue with friends. This guide explains the current role model, how to read a character's job, and how to build a team without pretending that one permanent tier list can describe every update.
This is an unofficial fan guide. Character names, balance, availability, and role labels can change, so verify the current client and official pages before treating a detail as permanent.

Quick answer: choose the job your squad is missing
There is no single best Tomb Busters character for every run. The right pick depends on whether the squad needs safer information, recovery after a mistake, or a stronger way to hold a dangerous route. Start with the job, then compare the character or build that performs it in the current version.
The official role language is a useful starting point: Explorer helps the team read routes and reach useful areas, Supporter keeps a damaged or separated squad stable, and Fighter helps create space when a threat blocks progress. These labels describe a decision pattern, not a promise that every named character has identical power in every patch.
For a new account, an Explorer or Supporter is usually easier to learn than a greedy damage or loot specialist. Information prevents bad rooms, while recovery gives the squad time to learn extraction timing. A Fighter becomes more valuable when the team already knows where it can safely disengage and does not confuse pressure with permission to chase.
Use this page for character and role orientation. Use the existing Tomb Busters tier list when you specifically want a ranking, best-character shortlist, upgrade order, or role-based S/A/B comparison. Keeping those intents separate makes both pages easier to use and reduces the chance of treating an old ranking as a permanent roster database.
A useful character reference should answer more than who looks strongest in a screenshot. It should tell you what the character contributes before the run becomes dangerous, what the rest of the squad must do to support that contribution, and when the same pick becomes a liability. That is why the role table and the team examples come before any ranking language on this page.
Before comparing two names, record three facts: the mode you are playing, the failure that ends most of your runs, and the route your team is trying to learn. This small checklist prevents a high-pressure Fighter pick from being recommended to a group that actually needs route information or recovery. It also gives returning players a way to reassess a character after an update without pretending that old numbers are still current.
Role labels become useful when they are tied to a route and a decision. Explorer is not simply the fastest way forward, Supporter is not a license to heal in danger, and Fighter is not permission to chase. The label should tell the team what to call, what to protect, and what signal means it is time to leave.
Random-team players can use the same framework without a long pre-game discussion. Pick one simple job, state the extraction trigger, and avoid changing the plan every time a reward appears. Clear expectations make a modest character choice more valuable than a complicated build that nobody else understands.
A current character reference should also separate availability from usefulness. A character may be attractive in theory but unavailable to a new account, locked behind a different mode, or described differently in another region. Verify access and role text first, then decide whether the character deserves a place in your own roster plan.
The safest comparison is often about the next decision, not the final power ceiling. Ask whether the character helps you recognize a bad room earlier, recover without extending the route, or cross a known threat while preserving a return path. Those questions produce a recommendation that remains useful even when a patch changes exact values.
Do not confuse a character reference with a promise that every listed role is equally available or equally easy. A role may require a specific mode, teammate, item timing, or amount of practice. Mentioning that limitation is part of choosing well, because it tells a beginner when to use the recommendation and when to pick a simpler fallback.
When the team changes, repeat the check instead of defending the old choice. A solo player moving into co-op may need a more specialized role; a squad losing its route lead may need information again. The best character guide is therefore a decision loop: identify the gap, test the role, review the result, and update the plan.
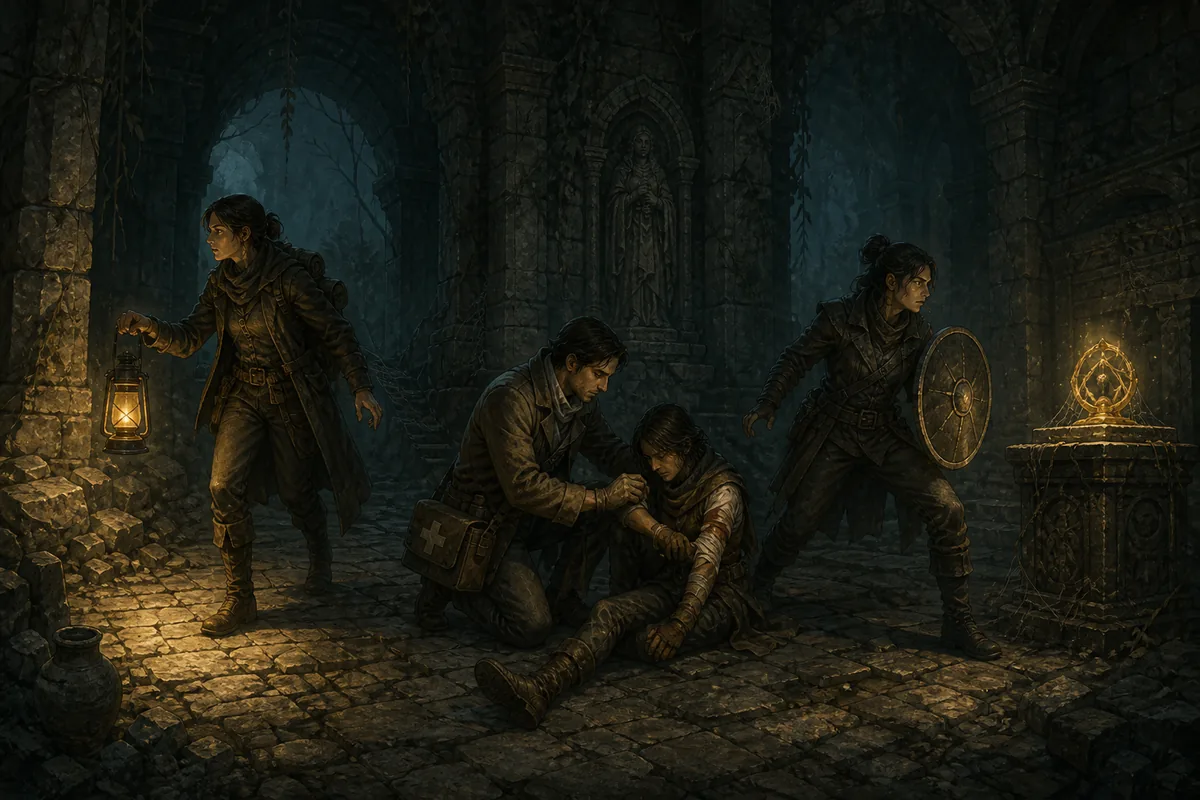
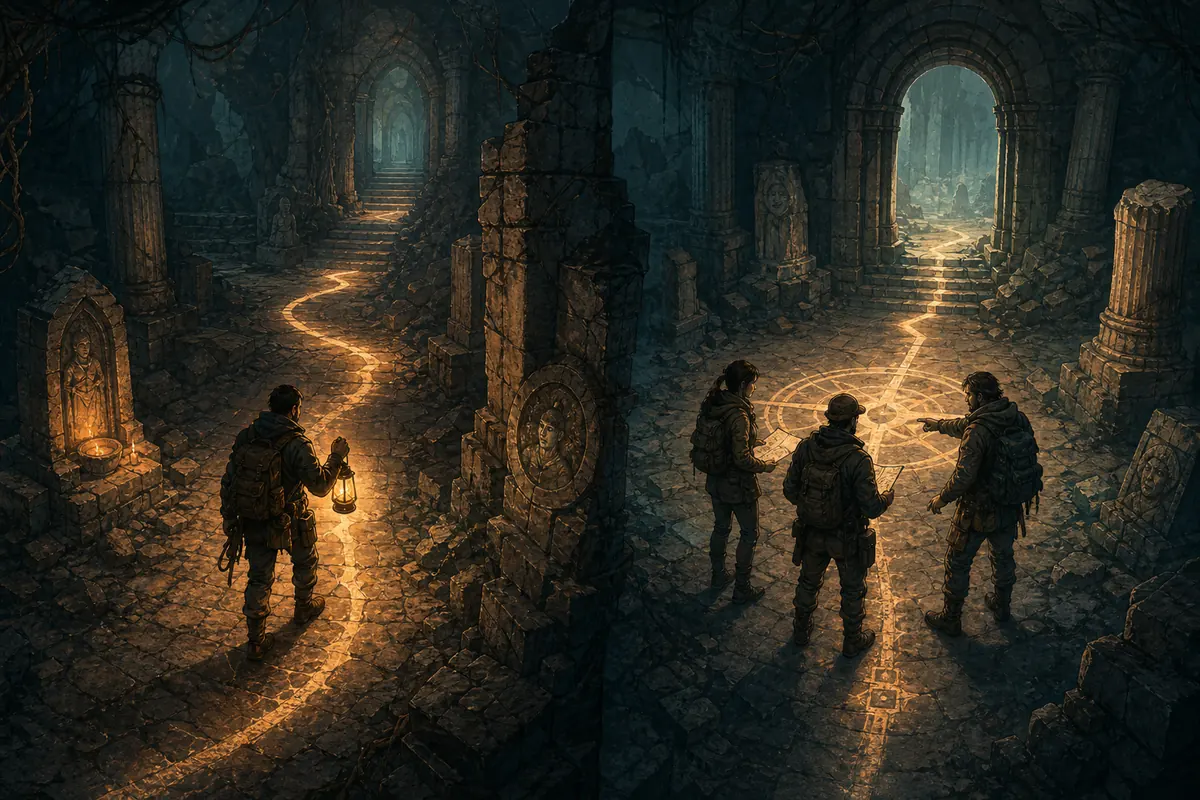
Tomb Busters character roles at a glance
Treat the official role names as a decision shortcut. The practical value comes from what the role lets the team do before an extraction becomes unsafe.
| Role | Best for | Team need | Watch out |
|---|---|---|---|
| Explorer | Reading routes, reaching useful areas, and keeping the return path understandable. | A squad that loses time to darkness, wrong turns, or uncertain exits. | Do not turn route knowledge into permission to split from the team. |
| Supporter | Recovering from damage, stabilizing a mistake, and keeping a regroup window open. | New players, mixed-skill groups, and runs where recovery matters more than greed. | Healing in an active danger zone is not the same as making the team safe. |
| Fighter | Creating space, holding a threat line, and helping the team pass a known danger point. | A squad that already calls retreats and needs controlled pressure. | Damage or aggression cannot replace scouting, extraction timing, or a return plan. |
How to read a character reference
Named rosters and abilities can move after updates. Use these practical checks when a character page, store card, or community post gives you more detail.
Ask what problem the character solves
A character is easier to evaluate when you name the run problem first. Is the team lost, injured, separated, or unable to pass a threat?
- Route problem: prefer information and movement.
- Recovery problem: prefer support and regrouping.
- Blocked route: consider controlled pressure, then leave.
Verify the visible name and role
A fan shorthand, translation, or old screenshot may use a different name. Match the current character card, role label, and ability description before investing.
- Check the live character screen.
- Compare the official page or store context.
- Treat old numbers as historical unless confirmed.
A strong character can still be wrong
A powerful pick loses value when it duplicates a job the squad already has. Cover the missing job before adding a second version of the same idea.
- One clear route reader helps most groups.
- A support slot protects learning runs.
- Extra damage is better after the return is stable.
Choose forgiveness over spectacle
Solo players cannot rely on a teammate to call danger or revive a bad decision. Pick a role that keeps information, distance, or recovery available.
- Keep the route short and visible.
- Leave before the inventory becomes a trap.
- Use mobility to return, not to chase.
Build around communication
A role becomes stronger when its team knows what it is doing. Agree on who leads the route, who carries recovery, and what call ends the run.
- Use short calls for stop, regroup, and extract.
- Do not make one player responsible for every job.
- Change roles when the team changes its route.
Keep list intent separate from tier intent
A character list tells you what exists and how roles work. A tier list tells you which role is recommended first. Use the two pages together instead of repeating one answer twice.
- Character list: reference and orientation.
- Tier list: ranking and investment priority.
- Patch notes: current changes and official confirmation.
Separate stable jobs from changing numbers
Role language and team needs can remain useful even when damage, cooldowns, availability, or names change. Keep the durable decision rule and recheck the changing detail.
- Stable: route, recovery, pressure.
- Variable: numbers and unlocks.
- Verify: current client and official notes.
Test a character before a large investment
A short, low-risk run gives better evidence than a copied list. Test the role on the route you actually play and write down what improved or failed.
- Use a short familiar route.
- Track the reason for extraction or failure.
- Invest after repeated evidence.
Prefer current evidence in the right order
When sources disagree, start with the live character screen and official pages, then use a dated community guide for context. A headline without a date or mode is weaker evidence than a modest observation you can reproduce.
- Current client first.
- Official context second.
- Dated community evidence third.
Turn each test into a useful record
Write down the route, mode, role, reason for leaving, and the moment the choice helped or failed. These notes make it easier to notice a real pattern and prevent one unusually lucky run from defining your recommendation.
- Record the mode and route.
- Name the first failure signal.
- Compare several similar runs.
Three practical Tomb Busters team builds
These are role combinations, not permanent named-character rankings. Adjust them when a patch changes availability, abilities, or the route you are learning.
Beginner learning team
Pair an Explorer with a Supporter, then add a flexible teammate who can carry a safe amount of loot without extending every branch. This setup gives the group a visible route and a way to recover from one mistake.
Best when the team is learning exits, threat cues, and item timing.
Safe co-op team
Use one route lead, one recovery role, and one Fighter or flexible slot. The fighter holds a known pressure point while the rest of the group protects the return path instead of chasing every reward.
Best when the squad communicates short calls and extracts on time.
Solo fallback
Choose the role that gives you the most information and forgiveness, keep the route short, and leave before a full inventory makes retreat feel expensive. Solo play rewards repeatable decisions more than flashy peaks.
Best when you are testing a character or learning a new stage alone.
Route-first duo
Use an Explorer to make the route legible and a Supporter to protect the return. The pair should agree on one regroup point and one clear extraction call before taking optional branches.
Best for two players learning a stage together.
Recovery-heavy trio
Combine route information, recovery, and a flexible pressure slot when the group is still making occasional mistakes. The goal is not to stay longer; it is to turn one mistake into a safe reset instead of a lost run.
Best for mixed-skill teams and early co-op practice.
Extraction drill team
Run a deliberately short loop with one Explorer, one Supporter, and a flexible third slot. Set a visible turn-back point and repeat the route until everyone can call the exit without hesitation. This builds character knowledge and team timing together.
Best for learning a new stage before chasing deeper rewards.
Pressure with an exit plan
Add a Fighter only when the team can name the danger point, the safe distance, and the retreat signal. The role creates a window; it should not become the reason the group stays after the window closes.
Best for practiced squads testing a known choke point.
How to choose a character without chasing old rankings
Use the same four questions every time a new character, patch, or community recommendation appears.
1. What is the next run trying to do?
Learning a stage, farming a safe loop, carrying a friend, and pushing a dangerous route are different jobs. A character that is excellent for farming may be a poor first pick for learning.
2. Which failure happens most often?
If the squad gets lost, choose information. If it cannot recover damage, choose support. If a known chokepoint stops progress, consider pressure, but only with a clear retreat call.
3. Does the team already cover this role?
Duplicate roles can be useful for a planned challenge, but beginners usually gain more from covering a missing job. Discuss the plan before the run rather than changing after a mistake.
4. Can you verify the current version?
Check the live client, official game pages, and current public notes. Store cards and community guides can be useful, but they should not turn an old number into a promise about the present patch.
5. What is the smallest safe test?
Try the character on a short route with a clear exit rather than committing a full inventory or a high-risk stage. A controlled test separates role value from a lucky or unlucky run.
6. What changed after the test?
Record whether the character improved route clarity, recovery, threat control, or extraction timing. If the answer is unclear after several runs, do not let a ranking headline make the investment decision for you.
7. What is the source of the recommendation?
Check whether the advice comes from the current client, an official role description, a dated community guide, or an unsourced ranking. The source changes how much confidence you should place in a precise claim.
8. What is your fallback when the plan fails?
Keep a simpler role or route available for the next run. A good character plan includes a way to reduce risk after a failed experiment instead of forcing the same choice until the inventory is empty.
9. Does the recommendation fit the team today?
Recheck the party after a friend leaves, a new player joins, or the route changes. A role that was correct for yesterday's squad can duplicate a job or leave a critical weakness today.
10. When should you stop testing?
Stop when the role repeatedly solves the intended problem or repeatedly fails to do so. You do not need perfect certainty; you need enough consistent evidence to make the next resource decision responsibly.
Official places to verify character information
Official pages can confirm the current product identity, role framing, store context, and update direction. They do not replace a personal check of the live client.
Tomb Busters official site
Use the official site for current game context, character or gallery links, and public update routes.
Open official siteGoogle Play listing
Check the Android listing, developer context, visible screenshots, and current store information.
Open Google PlayApp Store listing
Use the iOS listing to compare public product identity, region context, and current store media.
Open App StoreTomb Busters characters FAQ
Short answers for players comparing the roster, roles, rankings, and current-version checks.
There is no permanent best character for every run. Start with the role your squad is missing: Explorer for route information, Supporter for recovery, or Fighter for controlled pressure. For ranking and investment priority, use the separate tier-list guide.
Use the current in-game character screen and the official Tomb Busters pages first. Names, translations, availability, and role labels can change, so treat an old community list as a reference rather than a guaranteed current roster.
Explorer and Supporter are usually the most forgiving starting roles because they teach route reading and recovery. The best choice still depends on the team: a group that already has a route lead may need support more than another scout.
No. This page is a character and role reference. The existing tier list is for ranking role types, comparing investment priority, and choosing between solo or squad builds. Linking the two keeps the search intents clear.
Yes, if recovery or mistake tolerance is more valuable than peak speed. Solo players should keep the route short, protect the return path, and leave before loot pressure turns a safe run into a forced rescue.
Compare the problem each one solves, the route you are practicing, and the cost of a mistake. If both fill the same job, choose the one you can verify and use consistently in the current client rather than relying on an old ranking.
Use community lists as leads, not as permanent facts. Check the date, source context, current character screen, and whether the list was written for solo, co-op, farming, or a different patch.
Record the mode, route, role, extraction reason, and the moment the character helped or failed. Comparing several similar runs is more useful than treating one lucky result as proof.
No. Role labels organize the decision, but the live ability description determines the exact use. Confirm range, timing, availability, and restrictions in the current client before spending heavily.